
 16 July 2026
 Share
Share
1
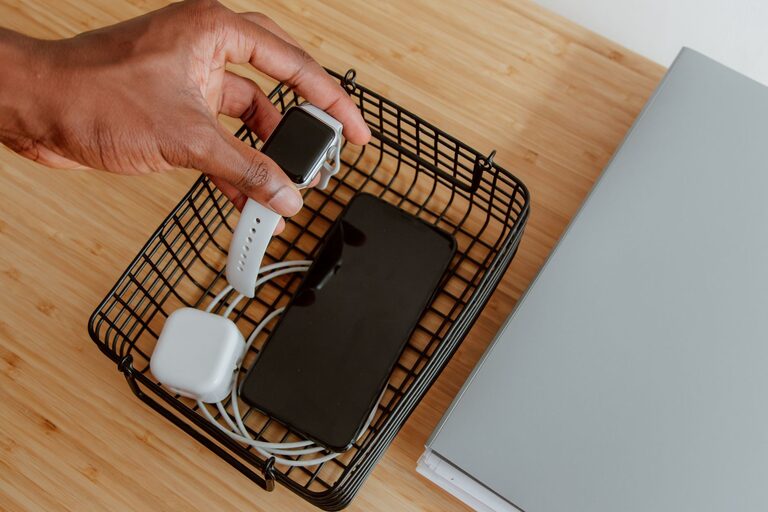
Setting up a dedicated charging station can help you keep your devices organized, charged, and ready to go. Whether for your home, office, or shared spaces, a well-designed charging station reduces clutter and saves time. Follow these steps to create an efficient and user-friendly charging setup.
With multiple devices like smartphones, tablets, laptops, earbuds, and smartwatches in daily use, charging cables and adapters can quickly become messy and difficult to manage. A charging station offers:
– Centralized location for all charging needs
– Reduced cable clutter and tangling
– Easier device access and monitoring
– Safer charging environment
Now, let’s explore how to design your own charging station.
Start by selecting a convenient and accessible spot for your charging station. Consider these points:
– Near a power outlet to avoid extension cords
– A dry and flat surface such as a desk, shelf, or countertop
– Central location if shared by multiple users
– Well-ventilated area to prevent overheating
Popular choices include a home office desk, living room side table, kitchen counter, or bedside table.
Make a list of all devices you want to charge regularly. This might include:
– Smartphones
– Tablets
– Laptops
– Wireless earbuds or headphones
– Smartwatches and fitness trackers
– Portable game consoles
– Power banks or other accessories
Knowing the number and type of devices helps you select appropriate charging equipment.
A multi-port USB charger is a versatile hub that can charge several devices simultaneously. Features to look for:
– Enough USB ports for your devices (typically 4 to 10)
– USB-C and USB-A ports for compatibility
– Fast charging capabilities (look for Power Delivery or Quick Charge standards)
– Surge protection for safety
Consider adding a charging stand or dock to hold your devices upright. This keeps them visible and organized, especially smartphones and tablets.
Use high-quality charging cables compatible with your devices. Keeping cables short can reduce clutter. If possible, use cables that support fast charging.
If multiple chargers require separate plugs, use a power strip with surge protection. Combine this with cable organizers, clips, or sleeves to keep cords neat and untangled.
– Place your multi-port charger on the chosen surface, close to the power outlet.
– Arrange your charging stand or dock in front of it for easy access.
– Connect your cables to the charger and run them neatly to the stand.
– Use cable clips or ties to bundle excess cable length.
– Label the cables if multiple users share the station.
To keep the charging station tidy over time:
– Regularly check and replace damaged cables.
– Remove devices as soon as charging is complete.
– Add decorative elements like trays or small baskets to hold accessories.
– Consider adding a small lamp or clock to enhance the station’s function.
– Avoid overloading outlets; follow device and charger specifications.
– Keep liquids away from the charging area.
– Ensure proper ventilation for chargers to avoid heat buildup.
– Unplug chargers during storms or when not in use for long periods.
A personalized charging station can simplify your daily device management, reduce clutter, and create a neat, efficient space. By carefully selecting the location, equipment, and organization tools, you can enjoy a seamless charging experience for all your gadgets.
Start planning your charging station today and keep your devices powered and ready whenever you need them!